
Beyond the Burn: Unlock the Secret to a Sparkling, Scratch-Free Induction Cooktop
Let’s be honest. Your induction cooktop is a thing of beauty. Sleek, modern, efficient – it’s the undisputed centerpiece of a contemporary kitchen. But that pristine, glossy black surface? Oh, it’s also a magnet for splatters, spills, and the dreaded burnt-on ring of shame.
You want to keep it looking as stunning as the day you installed it, but the thought of scrubbing and scratching can feel like a high-stakes game of culinary Jenga. Don’t despair! Keeping your induction cooktop looking showroom-ready isn’t a pipe dream. It’s about knowing the right techniques and having a few secret weapons up your sleeve.
Ready to transform your cooktop from grimy to gleaming without a single scratch? Let’s dive in.
—
The Unspoken Truth: Why Induction Cleaning Feels Different
Unlike old-school coil or gas stoves, induction cooktops are made of a smooth, glass-ceramic surface. This is what makes them so elegant and easy to wipe… until something “really” sticks. Standard abrasive cleaners or harsh sponges are an absolute no-go, as they’ll leave behind a heartbreaking trail of micro-scratches. The key is gentle precision and the right tools.
—
Step 1: The Golden Rule – Cool Down & Power Off!
Before you even “think” about cleaning, ensure your cooktop is:
1. Completely Cool: Residual heat can bake cleaners on or even cause thermal shock to the glass.
2. Powered Off/Unplugged: Safety first! Eliminate any risk of accidental activation.
—
Step 2: Everyday Brilliance – The Quick Wipe
For daily spills, light grease, and general grime, this is your go-to:
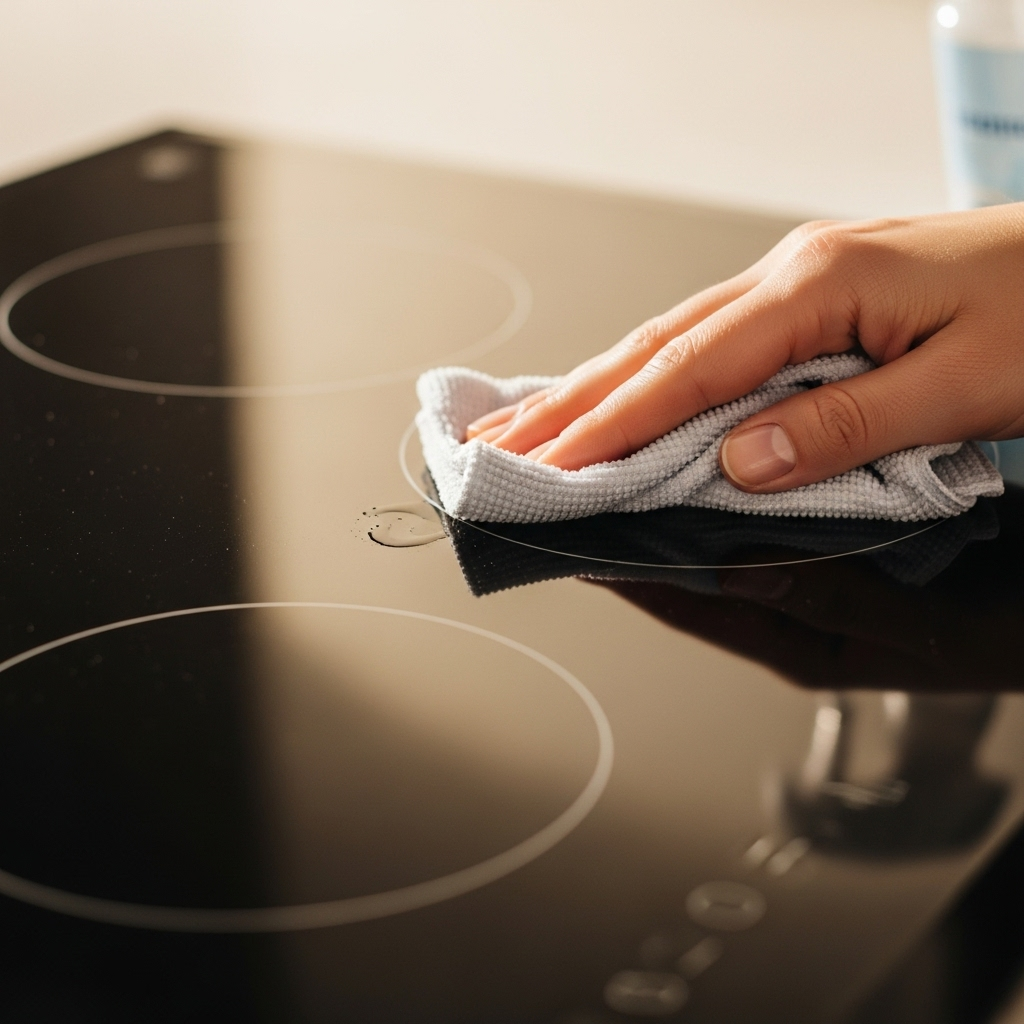
- What you need: A soft, clean microfiber cloth, warm water, and a drop of mild dish soap (like Dawn).
- How to do it: Dampen the cloth with warm, soapy water. Gently wipe down the entire surface.
- The Finish: Immediately follow up with a dry microfiber cloth to buff away any streaks and ensure a gleaming, streak-free shine.
—
Step 3: Banishing the Burnt-On Blight (Your Secret Weapons Revealed!)
This is where the magic happens. For those stubborn, crusty, “how did that even get there?” marks, you need a little more firepower – but still gentle firepower!
1. The Specialized Scraper (Your New Best Friend):
- What it is: A plastic or razor-blade scraper designed specifically for glass-ceramic cooktops. Do NOT use a regular razor blade or metal knife!
- How to use it: Hold the scraper at a very shallow angle (almost flat against the surface). Gently push forward to lift the burnt-on gunk. Always scrape towards yourself, never away. This technique lifts without scratching.
2. The Power of Specialized Cooktop Cleaner:
- What it is: A cream or liquid cleaner specifically formulated for glass-ceramic surfaces (e.g., Cerama Bryte, Weiman Cooktop Cleaner). These are non-abrasive but highly effective.
- How to use it: After scraping off any loose bits, apply a small dollop of the cleaner directly onto the stubborn stain. Let it sit for a minute or two (check product instructions). Then, with a clean paper towel or a non-abrasive pad, rub in small circular motions.
- The Finish: Wipe clean with a damp microfiber cloth, then buff dry with a separate clean, dry microfiber cloth for an unparalleled shine.
3. The Baking Soda Paste (Natural Alternative):
- What it is: A simple paste made from baking soda and a tiny bit of water.
- How to use it: Mix a few tablespoons of baking soda with just enough water to form a thick paste. Apply it generously over the stain. Cover with a damp, warm towel for 15-30 minutes to let the baking soda work its magic and loosen the grime. Then, gently scrub with a non-abrasive sponge or cloth.
- The Finish: Wipe away the residue with a damp cloth, then buff dry for a clean, natural shine.
—
Step 4: The Finishing Flourish – Protect and Preserve
Once your cooktop is sparkling clean, a final buff with a dry microfiber cloth not only enhances the shine but can also help create a protective, streak-free barrier that makes future cleaning even easier. Some specialized cooktop cleaners also contain a protective sealant, giving you extra mileage between deep cleans.
—
What NOT to Do (Seriously, Avoid These!):
- Abrasive Scouring Pads or Steel Wool: They “will” scratch.
- Oven Cleaners or Harsh Chemicals (Bleach, Ammonia): These can damage the glass or leave permanent stains.
- Cold Water on a Hot Cooktop: Thermal shock can cause the glass to crack.
- Using a Metal Scraper or Knife: Stick to the specialized cooktop scraper.
- Letting Spills Sit: The longer they sit, especially sugary spills, the harder they are to remove without intensive effort.
—
Ready for a Cooktop That Shines as Bright as Your Culinary Skills?
With these simple, effective techniques and the right tools, you can confidently keep your induction cooktop looking flawless – no more hiding burnt-on shame! A little consistency goes a long way in maintaining that sleek, modern appeal.
- span style=”font-style:italic;”>Found these tips helpful? Hit that ‘follow’ button, share with a fellow home chef, or tell us your own induction cleaning hacks in the comments below! We’re always cooking up new ideas to make your home life easier.